The
End panel was made using Photoshop and illustrator.
I wanted to create a 3d mock up the DVD Box to uses at the end of my video.
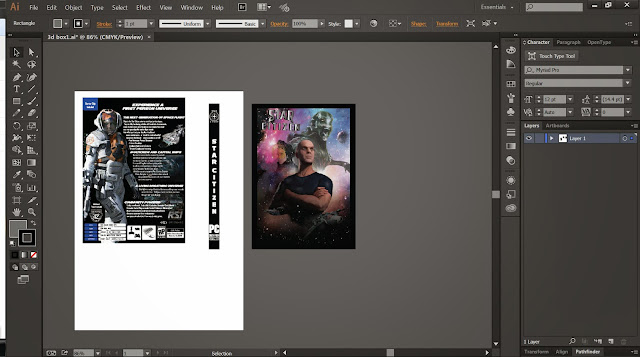
So I started off by exporting the DVD cover design as pdf.
I then had to crop the front cover.
And then reload the original, and then crop the spine. Reload the original and
crop the back cover.
I then save each of these bits individually
The covers size was 13cm X 18.5cm were as the spine was 1.5cm x 18.5

Loading the files
Load up illustrator
File > New to create a new document. Now file Place load in the art files
before clicking place make sure link options is unchecked. This well put the
art into your file. You will have to load a file one at time.
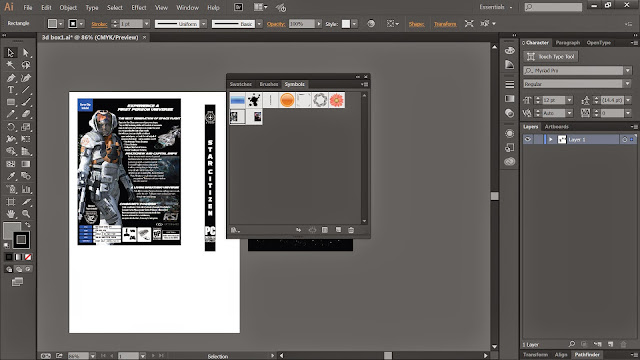
Symbols.
Select
window > symbols to open the symbols box.
Drag each of the box parts in to the symbols panel.
Click symbol options you have the option to make ever a Graphic symbol or a
movie clip.
Select the graphic symbol and names them front, back, spine.
Once each symbol is made you can delete the art on the art board.

Drawing the box
After selecting the Rectangle tool, then Click on the art board once. This
brings up the rectangle options box set the width to 13cm and height to 18.5. This
makes the box using the swatches box fill the box in grey and also remove the
stroke. Because we don’t want any outlines on the box. I then copy and pasted a
second box next it first this was going to make the box that shows the back
cover.
These will become both sides of DVD case once it’s been made 3 dimensional.
Adding the 3rd dimensions
Click Effectà 3Dà Extrude & Bevel. Check the preview box if it
not already.
The Extrude Depth should be same as the size of the side of the box. In this
case its only 1.5 cm
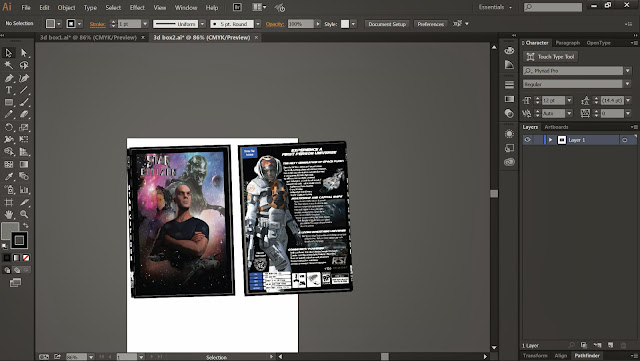
I then moved the cube in the custom rotation Box, until I had the box almost
facing forward but slightly to the right.
Click Map Art
 Map Art
Now the Map Art Dialog is open, click the arrows in the surface option
until you have the front selected. Click on the symbols drop down box and
select the front. DON’T CLICK OK. Instead us the arrows again to select the
spine. Then place the image for the spine in there. I then had to rotate art
for it to fit correctly. By hovering over the control handles the cursor turn
to a double bent arrow. By clicking and dragging you can then rotate the image.
This can be a bit fiddly. You can also add the back on but because of the angle
of the box itself but there isn’t a need to.
The same steps were followed, as before but on the second rectangle were
left facing to the left, using the back cover instead of the front.
Now the boxes were created I saved the file.

Next I loaded Photoshop a new file using the Film and Video template I loaded a
new canvas.
The back ground colour was filled in using a black selection and the paint
bucket tool.
The Images of the box that we just created were copied in as smart objects. And
arranged at the top of the page but keeping them inside the guild line.
I moved in the star citizen logo that I had made in illustrator (that had also
been used on the cover for the box.) and left it next to the box art.
Then I added the text in the same font as the box.
This was then finally exported in Premiere For the
final end card in the trailer.


